-
AUSTRALIA, ENGLISH
- Contact
- Where to Buy
- Favourites
-
Looking for product documents?
Try our Document Finder
-
About Knauf
-
About Knauf
-
About Us
-
About Us
-
-
Board Of Directors
-
Board Of Directors
- Jennifer Scanlon, Chairman, USG Boral; Executive Vice President; President, International; President L&W Supply Corporation at USG
- James S. Metcalf, Chairman, President and Chief Executive Officer, USG Corporation
- Mike Kane, Chief Executive Officer and Managing Director, Boral Limited
- Al Borm, President & CEO, Boral Industries Inc
- Rosaline (Ros) Ng, Chief Financial Officer, Boral Limited
-
See All
-
-
Blog
-
Blog
- USG Boral presents ASONA at the Design Speaks Old School/New School Event
- USG Boral Partiwall® the acoustically sound and flexible partition wall system
- Architects’ perspective on USG Boral Ensemble™
- Achieving an acoustic ceiling with a monolithic look is now easy
- PERSPECTIVES: Retiring industry legend not planning to lay down his trowel
-
See All
-
- Careers
-
Contact Us
-
Contact Us
-
- Code Of Conduct
- Supplier Code of Conduct
-
-
Products
-
Products
-
Ceilings
-
Ceilings
- Acoustic Panels & Ceiling Tiles
ACOUSTIC PANELS & CEILING TILES
- Acoustic Suspension Systems
ACOUSTIC SUSPENSION SYSTEM
- Drywall Suspension Systems
DRYWALL SUSPENSION SYSTEM
- Integrated Systems
INTEGRATED SYSTEMS
- Specialty Ceilings
SPECIALTY CEILINGS
- Metal Ceilings
- Asona Acoustical Range
- ENSEMBLE™
-
-
Interior Linings
-
Interior Linings
- Standard Plasterboard
Standard Plasterboard
- SHEETROCK® Plasterboard
SHEETROCK® Plasterboard
- Technical Boards
TECHNICAL Plasterboard
- Multi-Application Boards
Multi-Application Boards
- testingMissingAltText
- testingmegamenualt2
-
-
Finishes
-
Finishes
- Jointing Compounds
Jointing Compounds
- Speciality Plasters
Specialty Plasters
- Adhesives
Adhesives
- Primers
Primers
- Sealants
Sealants
- Joint Tapes
Joint Tapes
-
-
Steel Framing
-
Steel Framing
- USG Boral Steel Stud & Track System (New Zealand)
USG Boral Steel Stud & Track System (New Zealand)
- Rondo® Metal Components
Rondo® Metal Components
-
-
Cornice
-
Cornice
- SHEETROCK® Cove
SHEETROCK® Cove
- Decorative Cornice
Decorative Cornice
-
-
Plastering DIY
-
Plastering DIY
- DIY Cornice Adhesive
DIY Cornice Adhesive
- DIY Patching Plaster
DIY Patching Plaster
- Total Joint Finish
Total Joint Finish
- Stud Adhesive
Stud Adhesive
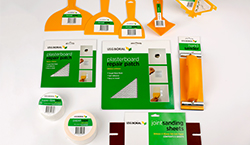
- Tools & Accessories
Tools & Accessories
-
-
Insulation
-
Insulation
-
-
Industrial Plaster
-
Industrial Plaster
-
-
-
Solutions
-
Solutions
-
Plasterboard Systems
-
Plasterboard Systems
- Systems+
Systems+
- CinemaZone® System
CinemaZone®
- Fireclad® System
Fireclad® Fire-rated External Wall System
- Firewall® System
Firewall® System
- IntRwall® System
IntRwall® System
- Multiframe™ System
Multiframe™ System
- NeighbourZone™ System
NeighbourZone™ System
- OutRwall® System
OutRwall® System
- Partiwall® System
Partiwall® Separating Wall System
- Quiet Living™ System
Quiet Living™ System
-
-
Segment Solutions
-
Segment Solutions
- Health Care
Health Care
- Education
Education
- Bushfire Protection
Bushfire Protection
- Multi-Residential
Multi-Residential
-
-
Science
-
Science
- Acoustics
Acoustics
- Fire Performance
Fire Performance
- Seismic
Seismic
-
-
-
Inspiration
-
Inspiration
-
For Architects / Designers
-
For Architects / Designers
-
USG Boral for Architects / Designers
We believe we can change the way buildings are designed, built and occupied by delivering innovations that help you work smarter, do more and build better.
Plasterboard Installation Manual
See All
-
-
For Builders / Installers
-
For Builders / Installers
-
USG Boral for Builders / Installers
Proudly Supporting those who Build, every step of the way.
Plasterboard Installation Manual
See All
-
-
For Homeowners
-
For Homeowners
-
USG Boral for Homeowners
Our plastering products, tools & accessories are designed for the home renovator/builder making minor alterations or repairs to plasterboard walls & ceilings.
Plasterboard Installation Manual
See All
-
-
For Resellers / Distributors
-
For Resellers / Distributors
-
USG Boral for Resellers & Distributors
Our aim is to provide you solutions and make opportunities to scale your business efficiently.
Plasterboard Installation Manual
See All
-
-
-
Resources & Tools
-
Resources & Tools
- CAD Finder
- Lighting and Decoration Microsite
- Lighting & Decoration Guide
- Specialty Ceilings Design Studio
- Boral Design Lab
- Plasterboard Installation Manual
- Partiwall Estimator
-
BIMWIZARD
-
BIMWIZARD
- BIMWIZARD®
- NEW FEATURES
-
See All
-
- eSelector
-
TecASSIST
-
TecASSIST™ - USG Boral
-
-
Acoustic Ceilings e-Estimator
-
Acoustic Ceilings e-Estimator
-
-
-
What's New
-
What's New
-
News And Promotions
-
News & Promotions – USG Boral
- Holiday Trading Hours 2019/2020
- USG Boral a proud sponsor of Hoot Homes and Kylie & Jackie O’s Set You Up for Life home giveaway!
- USG Boral air-drying compounds help you avoid risk of early dry-out in hot windy dry conditions
- Labrador Trade Store Closing Down
- Competition: Your chance to win a DeWALT 5-Piece Combo Kit with WETSTOP™
-
See All
-
-
Press
-
USG Boral Press Coverage
- USG Boral Australia and New Zealand proposed to become 100% Boral-owned
- USG Boral wins Good Design Awards for design and innovation
- USG Boral advocates for healthier work sites in building and construction
- USG Boral continues to support the Royal Children's Hospital Good Friday Appeal
- BORAL AND USG BORAL SUPPORT INDIGENOUS YOUTH PROGRAM
-
See All
-
-
AUSTRALIA, ENGLISH
- Contact
- Where to Buy
- Favourites
- My Downloads
-
User Profile
User Profile
- Manage Profile
- Logout
-
Looking for product documents?
Try our Document Finder
NZ+jYppa/PtM0muYfvR1sghttp://myaccount-stg.usgboral.com -
- Past Project Inspiration – USG Boral
- Renovating Advice for Homeowners From the Experts At USG Boral
- How To Install Plasterboard – DIY Installation Video Series
- Plasterboard Ceiling Installation | Video 3
- Past Project Inspiration
- Home Owners
- DIY Plasterboard Projects
- Video 3: Installing a Plasterboard Ceiling
Video 3: INSTALLING A PLASTERBOARD CEILING
WHAT YOU WILL NEED
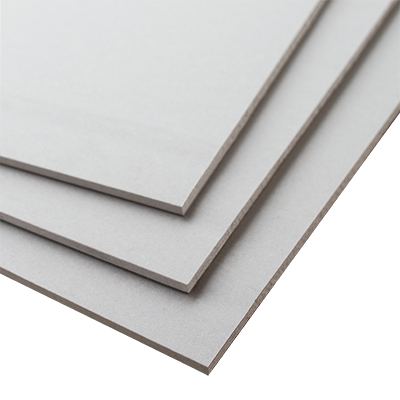

USG Boral SHEETROCK® 10mm ceiling board
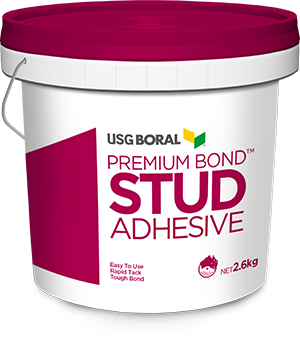

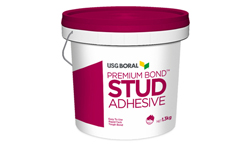
USG Boral Stud Adhesive
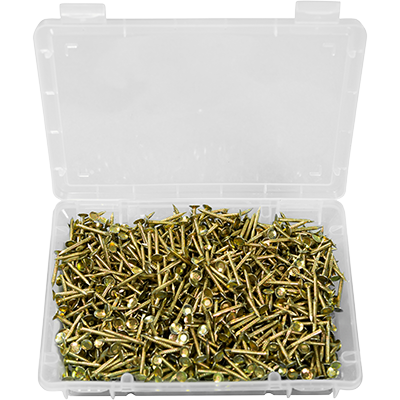

Plasterboard nails/screws
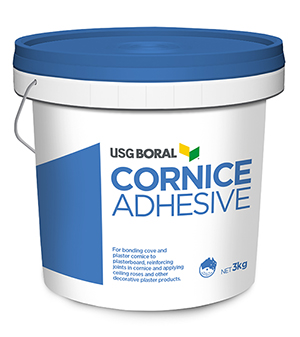

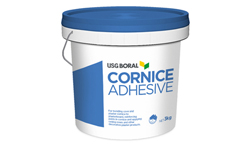
USG Boral Cornice Adhesive (for back blocking)
TOOLS
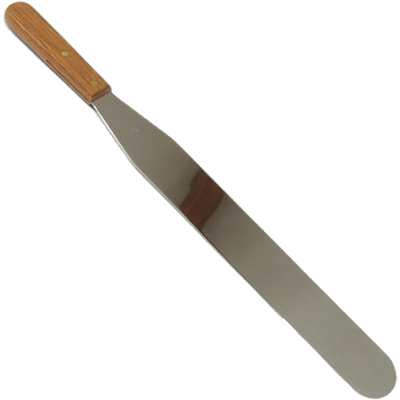

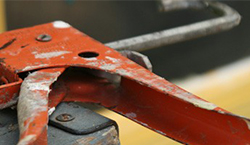
Adhesive applicator
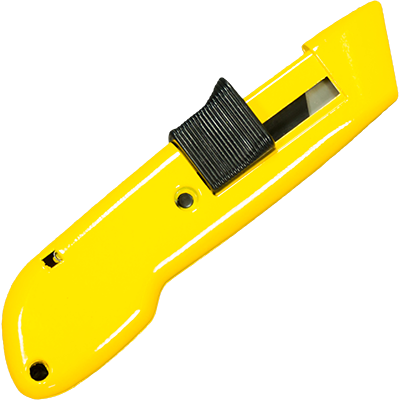

Trimming Knife
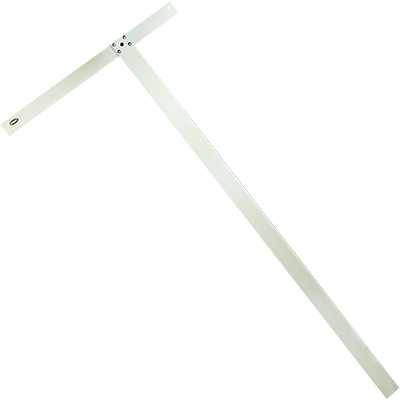

T-Square
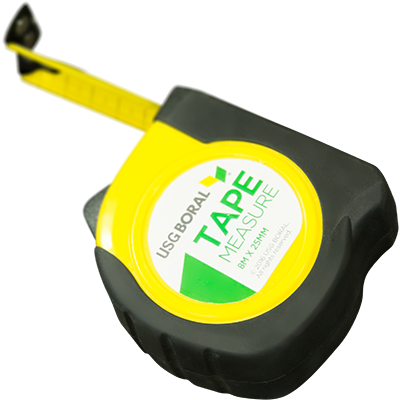

Measuring tape & pencil
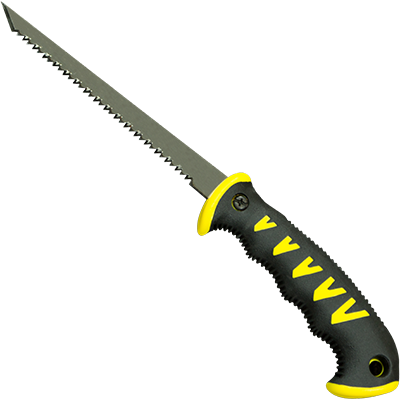

Keyhole saw
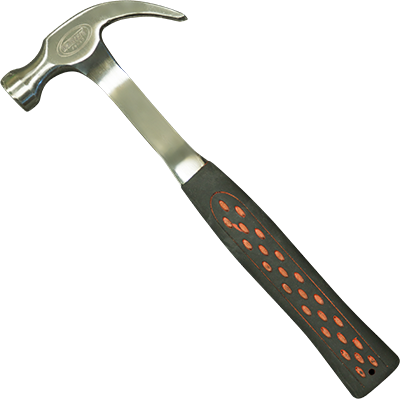

Claw hammer or cordless drill
MEASURING & CUTTING
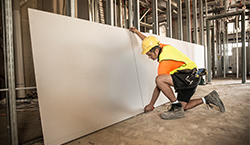
- 1.Start by measuring and marking the ceiling board for length.
- 2.Holding the T-Square firmly along the mark, score through the board liner face with a trimming knife.
- 3.To complete the cut, lift the board and fold the offcut away from the scored face. Then run the trimming knife through the back liner paper at the fold.

TIP: MEASURE TWICE, CUT ONCE
- 4.To make openings for electrical wiring/fixtures, measure and mark their location on the plasterboard sheet. Cut the small holes with a keyhole saw. For neat round holes, use a hole-saw drill attachment.

MORE INFORMATION
Download the USG Boral Plasterboard Installation Manual for comprehensive technical information and installation guidelines.
INSTALLING & FIXING
- 1.First mark the location of your ceiling joists along the top edge of the wall board to help locate them once ceiling sheets are installed.
- 2.Use the adhesive applicator to apply stud adhesive in 'daubs' on the ceiling joists - 25mm wide and 15mm thick. Make sure they're 200mm away from the sheet edges and 200mm from centre of sheet screw points.
- 3.Ensuring that the recessed edge side of the sheet is facing OUT, install the ceiling board at right angles to the joists and screw along the edges first. Then using the printed lines as a guide, screw along the centre of the sheet. Finally, screw along the sheet ends 200mm apart.
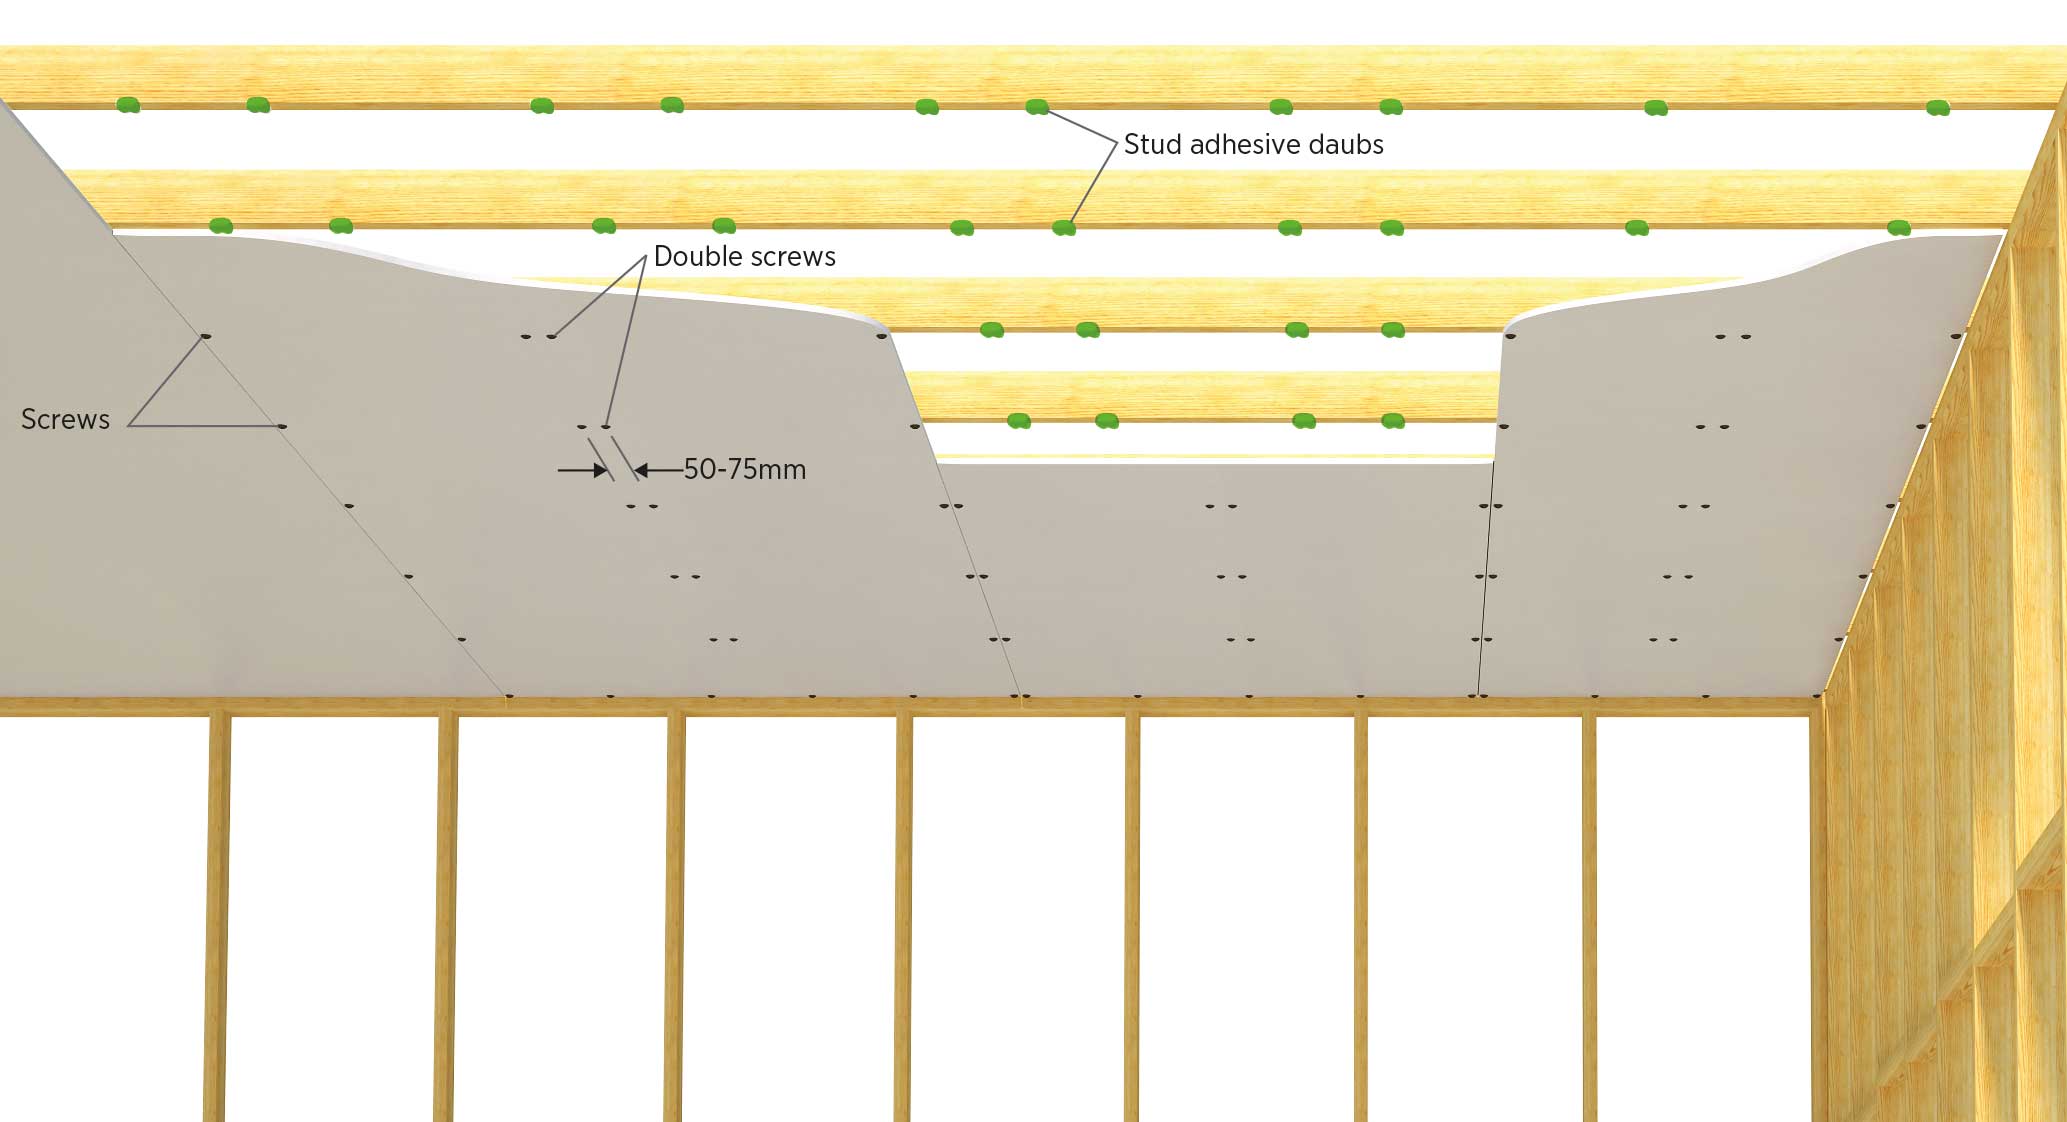


IMPORTANT!
Make sure you countersink the screws just below the plasterboard's surface so they can be filled later, taking care not to break the paper face. A counter-sinking drill bit attachment will help to prevent over-screwing.
- 4.Repeat the process for the next sheet, ensuring they are butted neatly together. To reduce the possibility of joint cracking, use a technique called back blocking (see below).
- 5.Allow the adhesive to dry for at least 24 hours - or 48 hours in cool conditions.
BACK BLOCKING
Back-blocks are plasterboard panels attached to the back of joints to minimise cracking due to extreme climatic conditions or timber shrinkage.
- 1.Cut plasterboard strips to fix across the back of the joints in the ceiling boards. Apply USG Boral Cornice Adhesive to the panels and fit the back-block over the centre of the joint.
- 2.Temporarily fasten the back block into place with 40mm plasterboard laminating screws. Do not drive them in too far, as you'll be removing them later before you finish the joint.
- 3.Then fit the second ceiling board onto the frame, following the same procedure as before and screw it into the back block.
- 4.Leave to dry for 24 - 48 hours and then remove the screws.
NEXT STEP:
Jointing and finishing your ceiling - to create a smooth surface before decorating. Watch the video for Jointing and finishing plasterboard.

SAFETY FIRST!
- Ensure any ladders, scaffolding, trestles or planks you use are adequate and safe
- Read cautionary notes on all product packaging
- Wear safety gloves when using sharp tools
- Wear a dusk mask and eye protection when sanding
- We recommend you consult with a licensed electrician and/or plumber about any electrical wiring and/or plumbing requirements, prior to installing plasterboard
Keep me up to date
Thank you for registering!
- Who Is USG Boral?
- Careers
- Privacy Policy
- Where to Buy
- Contact Us
- Legal
- Document Finder
- eSelector
- Design Studio
- Boral DesignLAB™
- Systems+


